See how YouTube's best ad videos are packaged.

YouTube公布的年度最佳广告榜单中,任天堂打造的“Make, Play, &Discover”摘下"Ad That Taught Me"组的星星,成为全球用户投票的最终七支最佳广告之一。
In this work less than a hundred seconds, with is an incomparably time-consuming fixed animation, a frame finely crafted, showing the product brain hole open new play and game experience.
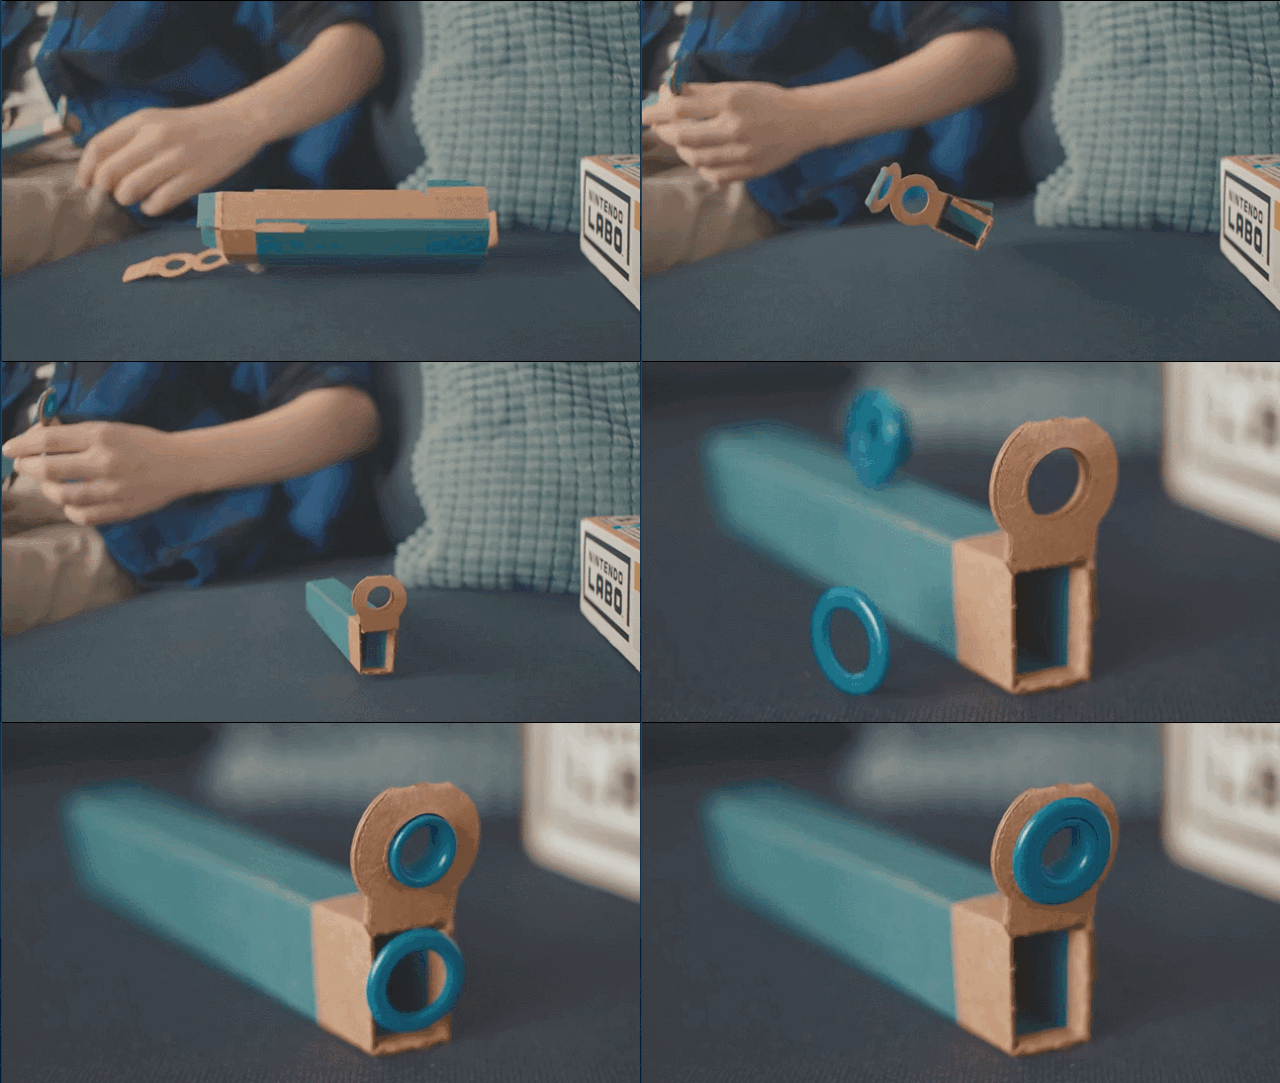
The on-screen release of the active image suddenly stopped and became a still screen, known as the "set-up", which is one of the usual tricks of film footage. It can show the static beauty of a sculpture, to highlight or render a scene, a certain look, a certain detail.
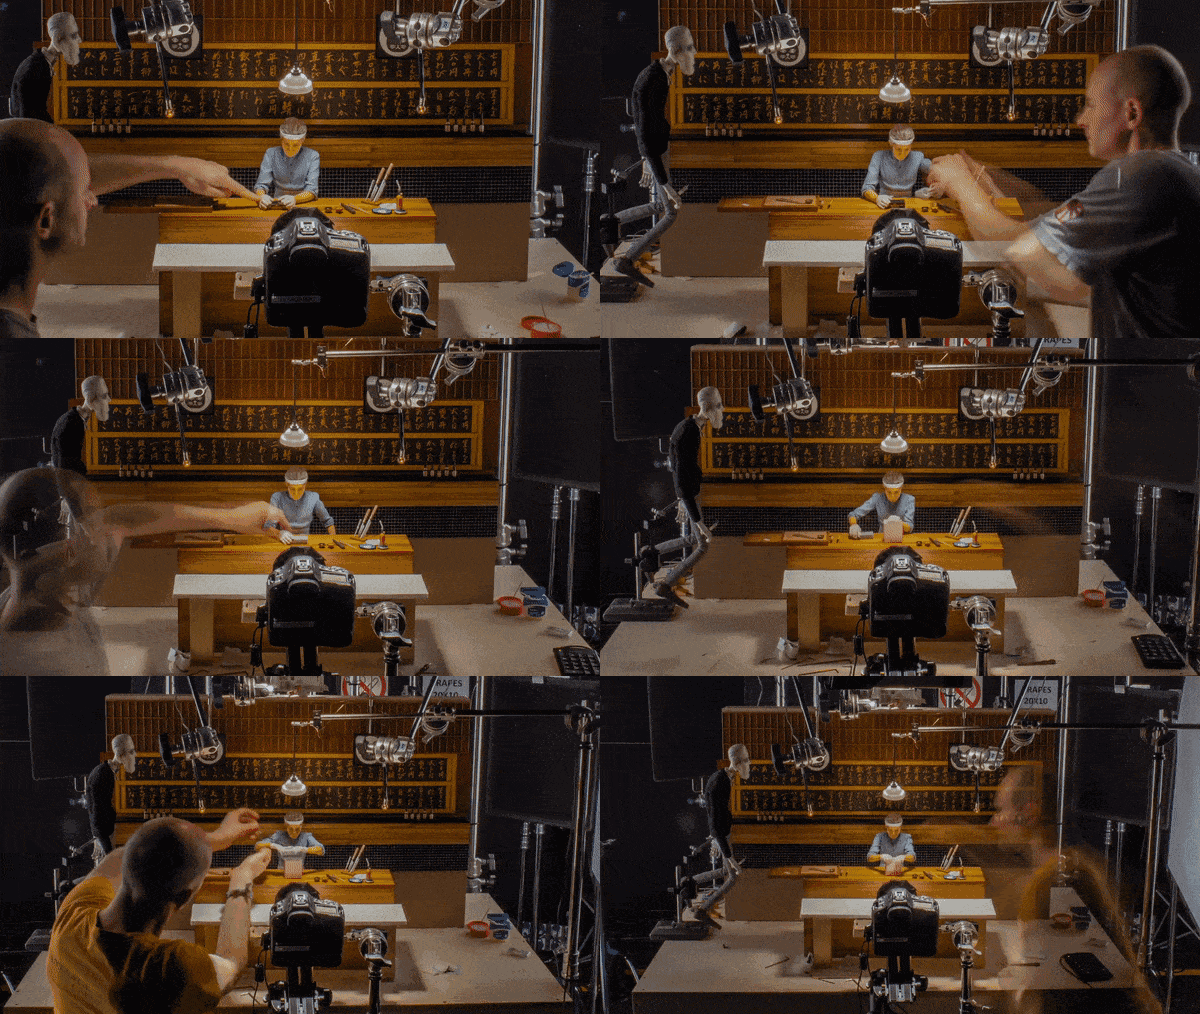
By shooting objects frame by frame and then showing them continuously, you can produce characters that seem to live as if they were alive or any character you can imagine.
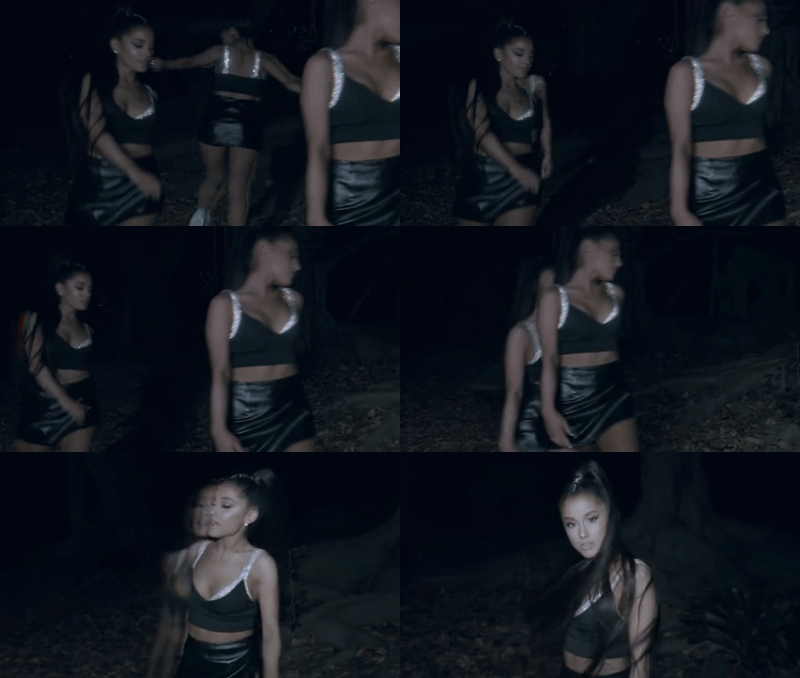
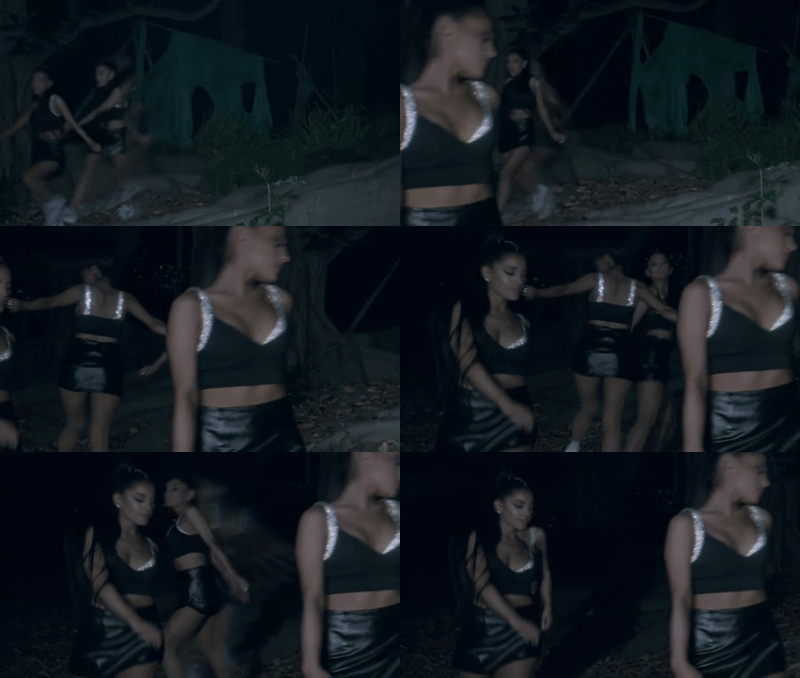
前段时间,A妹Ariana Grande 和麻辣鸡NickiMinaj 五度联手的最新单曲《the light is coming》上线,一经推出就吸睛无数,两位实力Queen相互助阵的劲头,是亲闺蜜没错了。
This new single MV shooting, also used a large number of frame-fixed play, cool feeling. What we're going to talk about today is how to make a framed video to make your picture look full.
1. Make a split by trimming and masking.
The spekular lamp's modular structure makes it easy to create the shape you want, using Speedular lamps and some simple props to mimic the forest scene in the MV.
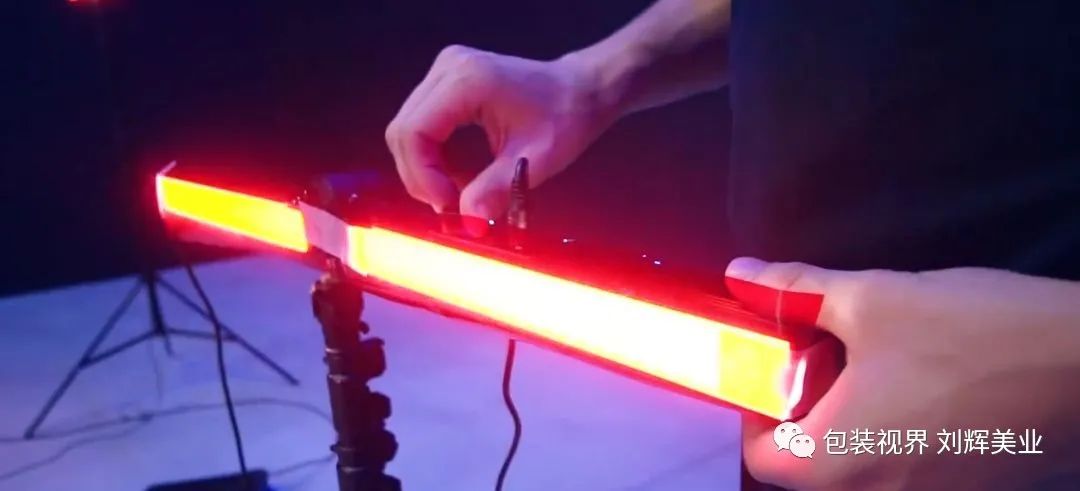
After the scene is set up, you can then enter the shooting phase, shooting on a tripod with a fixed position, is the easiest way.
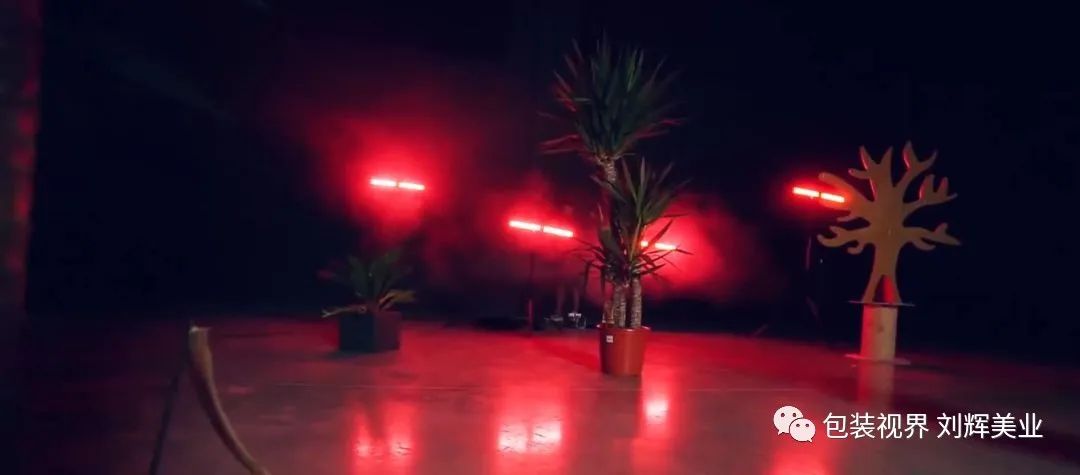
Next, you need to move or dance in a static scene, look for the first treaty point in the air on the clip software timeline, and choose a good pose.
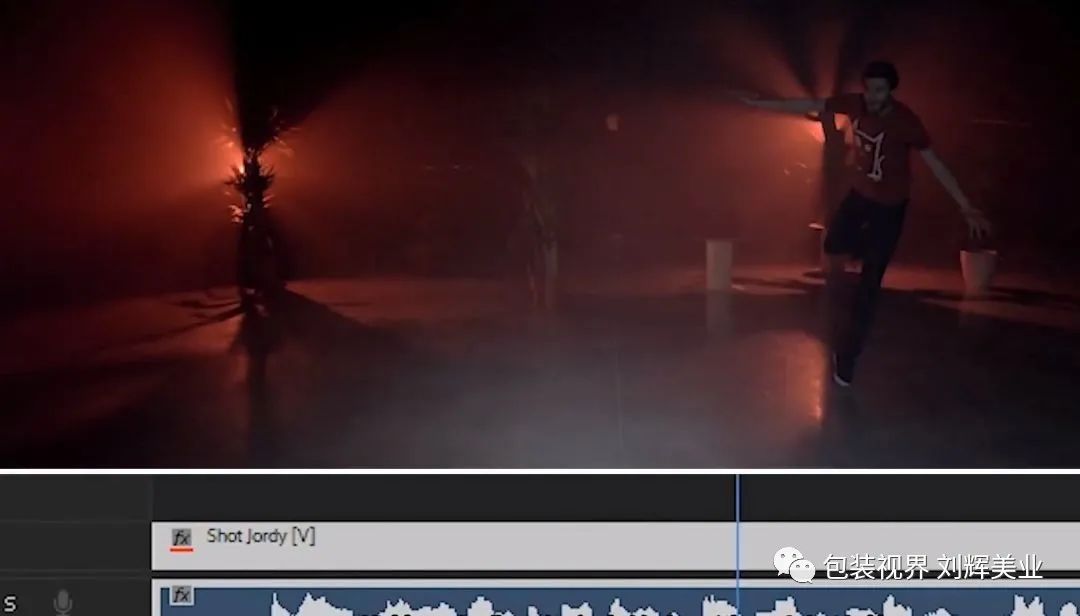
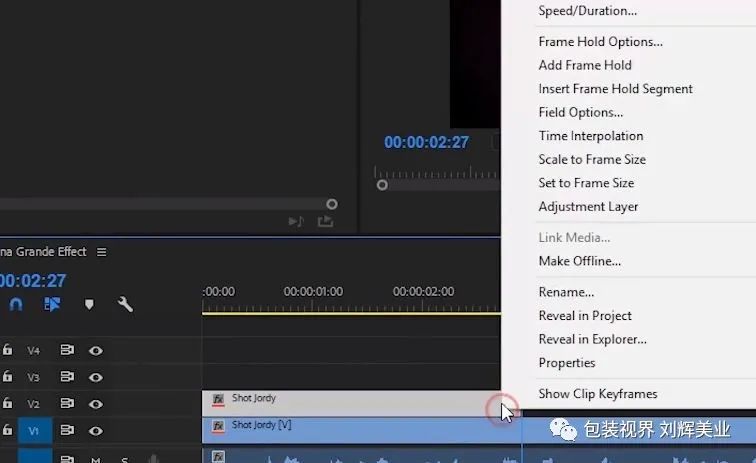
Here you copy the layer to the top, trim it from the right to where you play the pointer, and right-click clip selection Frame Frame.
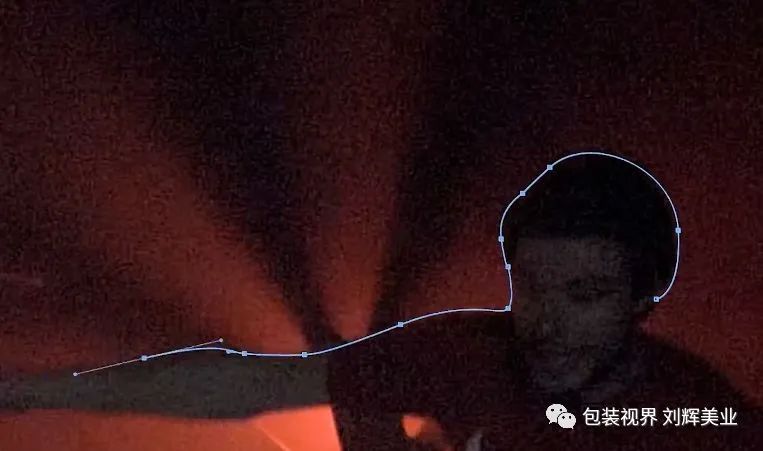
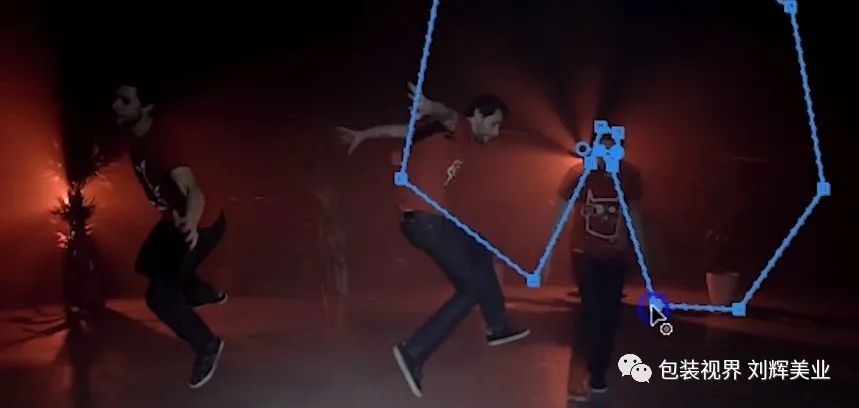
Select clips to the Opacity property here, draw the template with the Pen Tool, and make sure you're doing it around yourself, which may take a little time, but it's cool when you're done. By repeating the above steps, trim, frame, mask... you can make a lot of similar effects, that's it.
2. Create the remnants by nesting.
In A sister's MV, we can see some remnants, although the editing software Pr has the residual effect, but the actual use may not be able to achieve the best results. So what we're going to do is a little bit different.
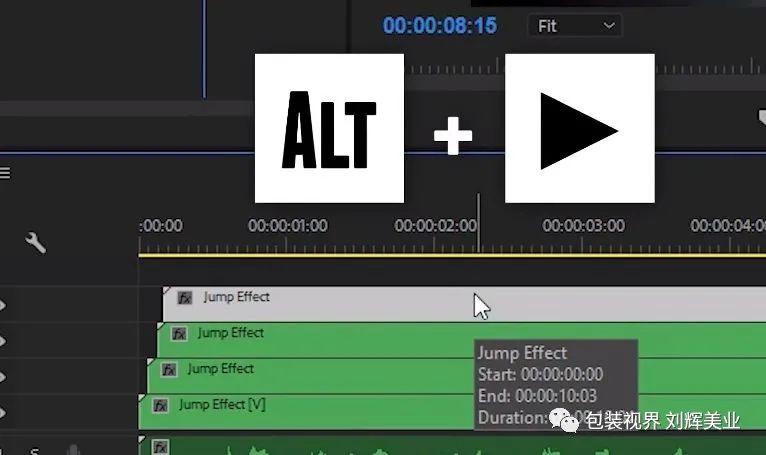
Select everything on the timeline, right-click Nest, and you can put everything in a nested sequence, copy the nested layer three times, move the first copied layer to the right two frames, do the same for the layer above, move four frames, and finally move six frames.
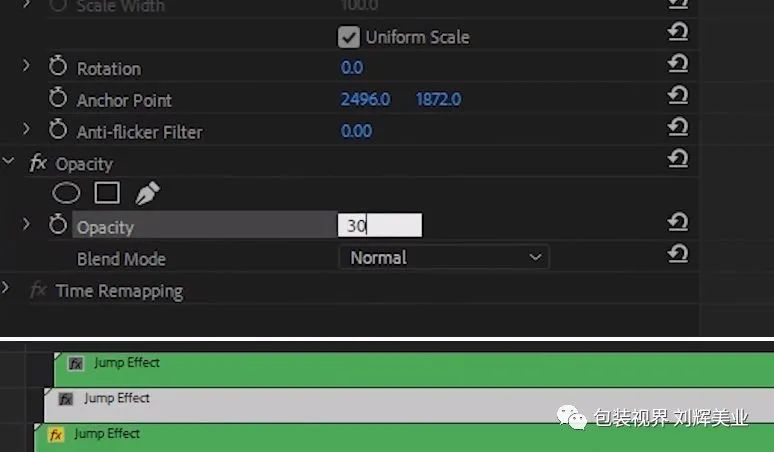
Next, set the opacity of the first replicated layer to 40 percent, and the remaining layers to 30 percent and 20 percent.
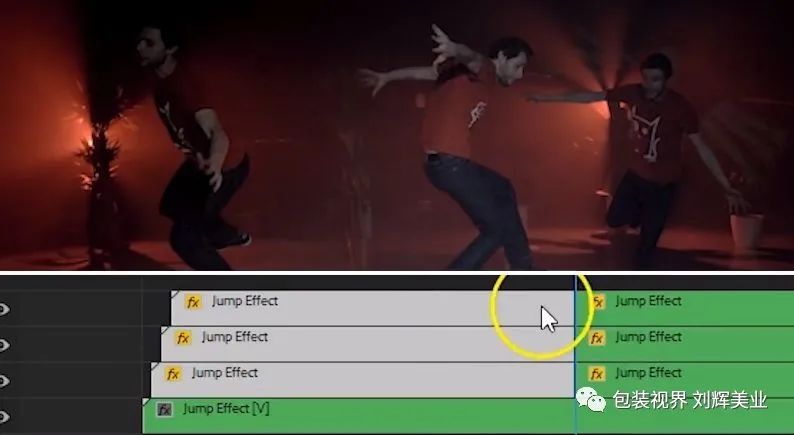
Find where you jump, add clips to all copied layers, do this for each jump pose that follows, and then add Cross Dissolve to those copied layers to fade them in and out.
Because these remnants are at the top, they block too many subjects, which is why you want to add masks to the first copied layer, which can feather them very roughly. Keyframe the mask path and move the mask over time.
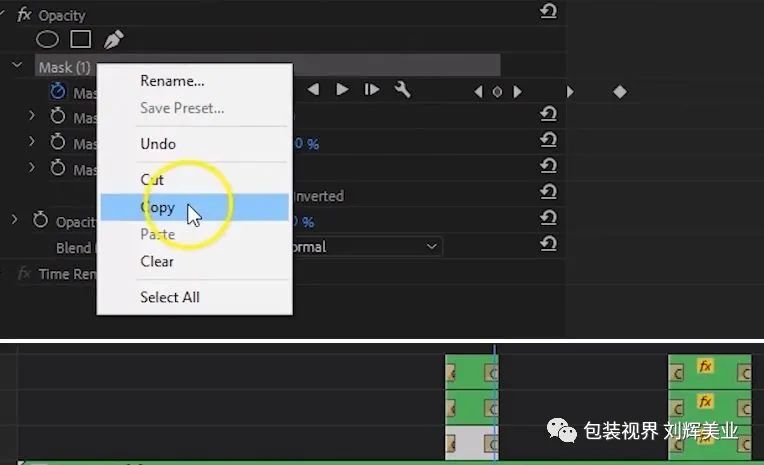
For other layers, the mask must be the same. So, copy the mask you just created and paste it on another layer.
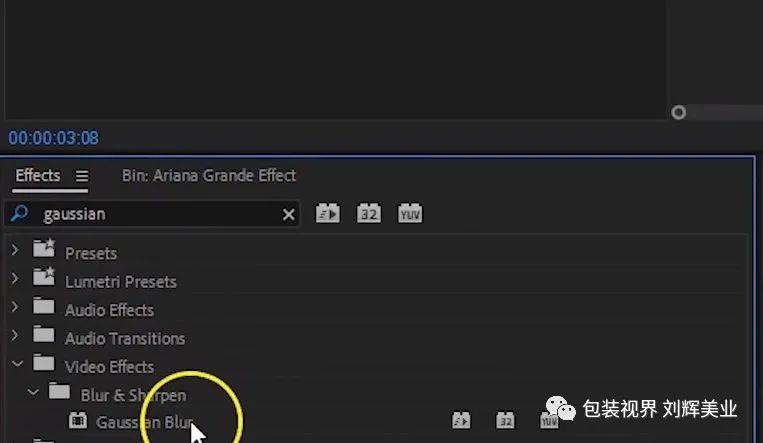
If the remnants look a little too sharp, add Gauss Blur to each layer.
3. Create pixel breakage effect through Color Balance.
You can also go a step further and add a little RGB Glitch effect to it. Select all footage on the timeline, nest again, and copy the nested sequence three times. The first layer offsets one frame, the second two frames, and the last three frames.
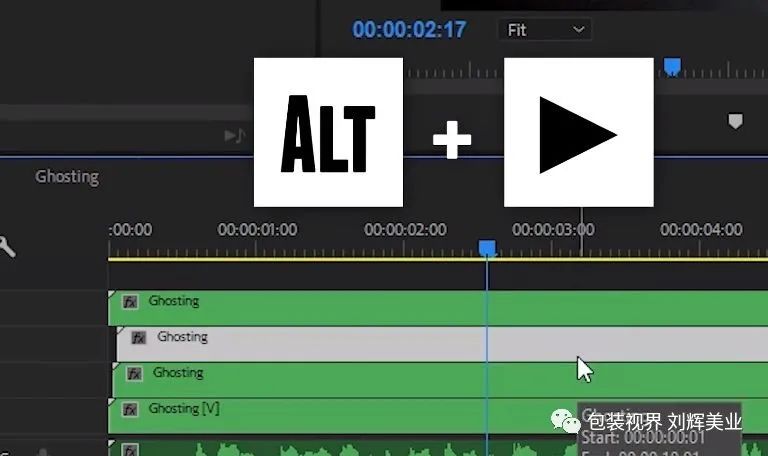
Cut the shadow effect portion of all layers, the top three can cover the layers below, or you can remove the bottom layer (which is no spent at this point).
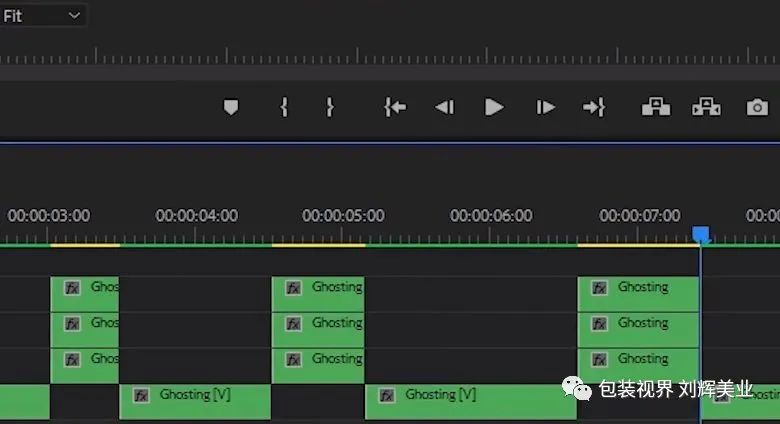
Then use the Color Balance effect to extract each layer of red, green, and blue channels, with the first layer of red and green being 0 and blue being the largest. On the second floor, blue and red are 0.green maximum. Finally, set the maximum red value, with the remainder at 0.
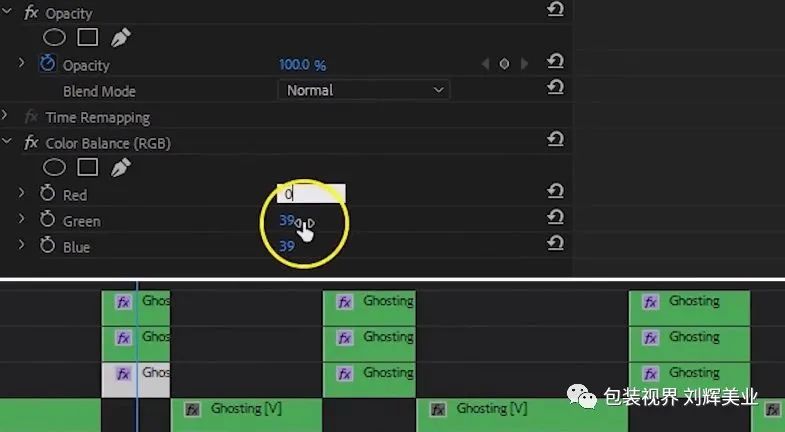
What's cool now is that wherever there's motion in the picture, there's an RGB failure effect. Because it was taken on a tripod, the background did not change, only the subject was moving. You can also add fake camera motion to position and zoom keyframes.
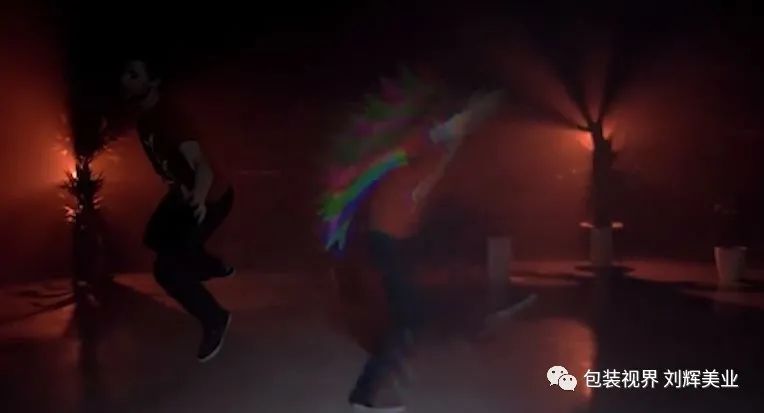
Isn't it very easy to learn? To learn more about the production of this frame-set effect, you can watch the full video below.
end
Liu Huimeiye.
"New Horizons" public number matrix.


Go to "Discovery" - "Take a look" browse "Friends are watching"